This article explains how to let users add, edit, and delete their own pins on the map. It also includes a tip for redirecting users back to the map after registration.
🧭 Overview
Open User Map supports user-based location management. This means logged-in users can:
- Add a new marker
- Edit or delete only the markers they created
To make this work, you’ll need to set up a few things in your WordPress backend.
✅ Step 1: Restrict Location Adding to Registered Users
Go to
Open User Map → Settings → Advanced
and enable:
☑️ Restrict “Add location” to logged in users only

This ensures only logged-in users can submit a location. It also links submitted locations to their user account — which is necessary for them to manage their own pins later.
Once this is enabled, non-logged-in users will be redirected to the login/registration page.
🖼 Step 2: Display Edit/Delete Options on the Map
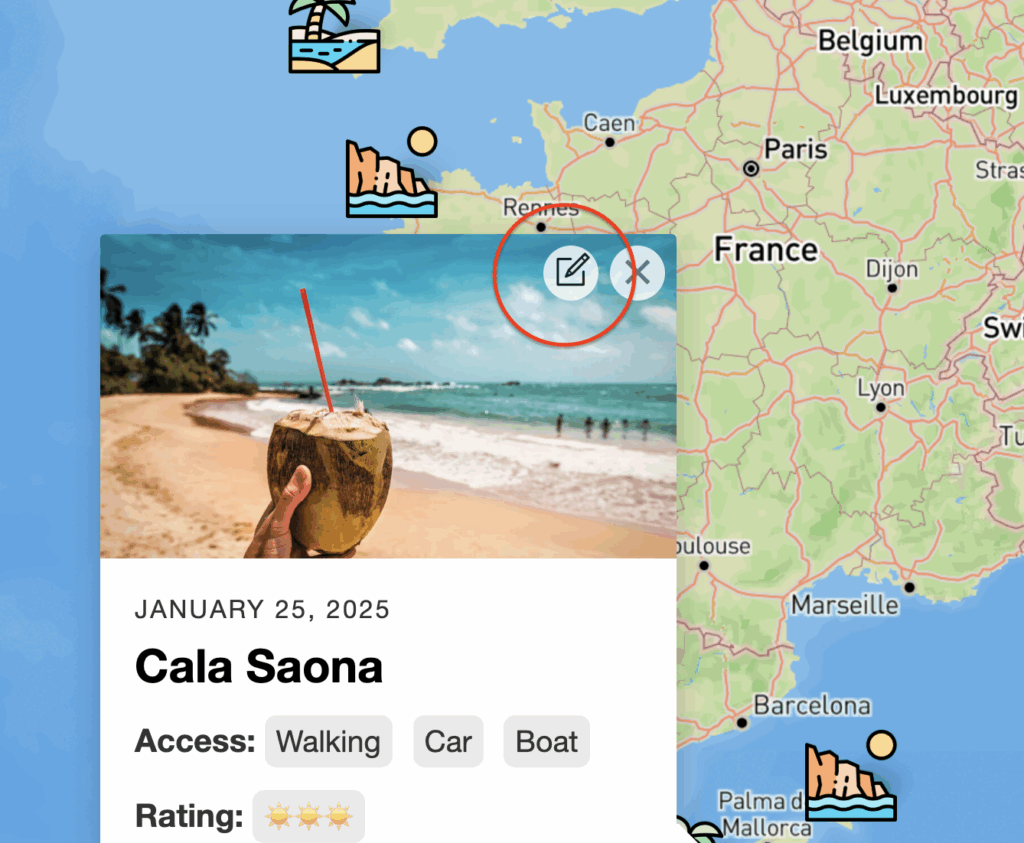
If a logged-in user views a location they created, they’ll see a small “Edit” icon in the location popup. Clicking this icon opens the edit form, allowing them to update or delete their pin.
🛠 Step 3: Redirect Users Back to the Map After Registration
If you’re using the built-in WordPress registration, users might end up on a default “registration complete” screen — or even a 404 page if a custom redirect isn’t set properly.
To redirect users back to the map after they register, you can add the following PHP code to your site:
add_filter('oum_registration_redirect', function () {
    return home_url('/your-page-with-the-map/');
});
Replace /your-page-with-the-map/ with the relative url of your own map page.
📌 Tip: Add this snippet to your theme’s functions.php or a code snippets plugin.
💬 Final Thoughts
If you want your users (e.g. students, customers, community members) to add and manage their own locations, the feature is already built-in — you just need to configure it properly.
Still having trouble? Contact support and let us know what you’re trying to achieve. We’re happy to help.